
Prerequisite: I assume you’ve already known how to set up a Plex server on Linux system, this article focuses more on the challenges of storage and transcoding of Plex due to the low power of the Raspberry Pi.
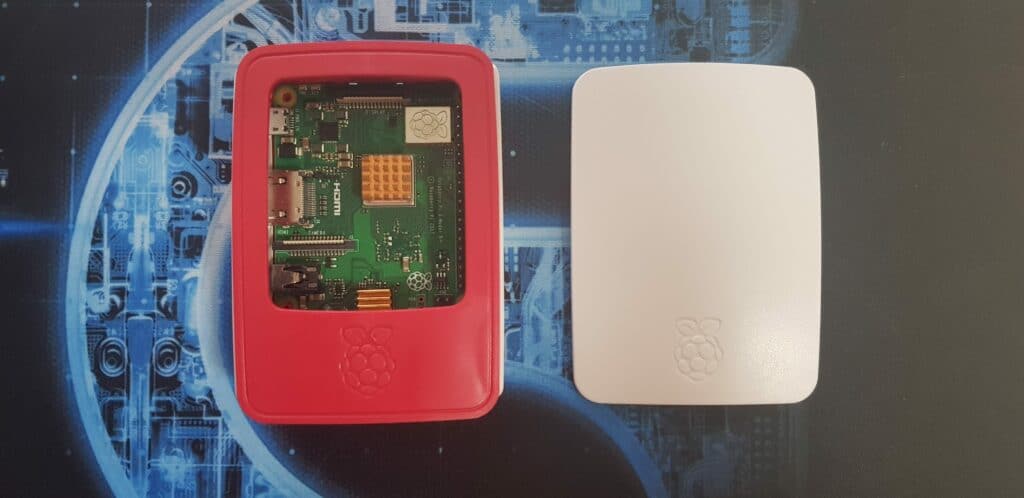
Recently, I decided to make use of my Raspberry Pi 3b+ at home and turned it to a home media server using Plex, a well-known software within the tech community. However, due to the computational limits of the Raspberry Pi, there’re a few technical decisions that I needed to make and I think it would be a great idea to share my experience as it would be interesting for my fellow techies out there who also want to build a similar setup.
Here is the detail of my setup:
- Server: Raspberry Pi 3B+ (Quad-core 1.4 GHz, 1 GB Memory)
- OS: Raspbian Lite (without the GUI, connect via ssh)
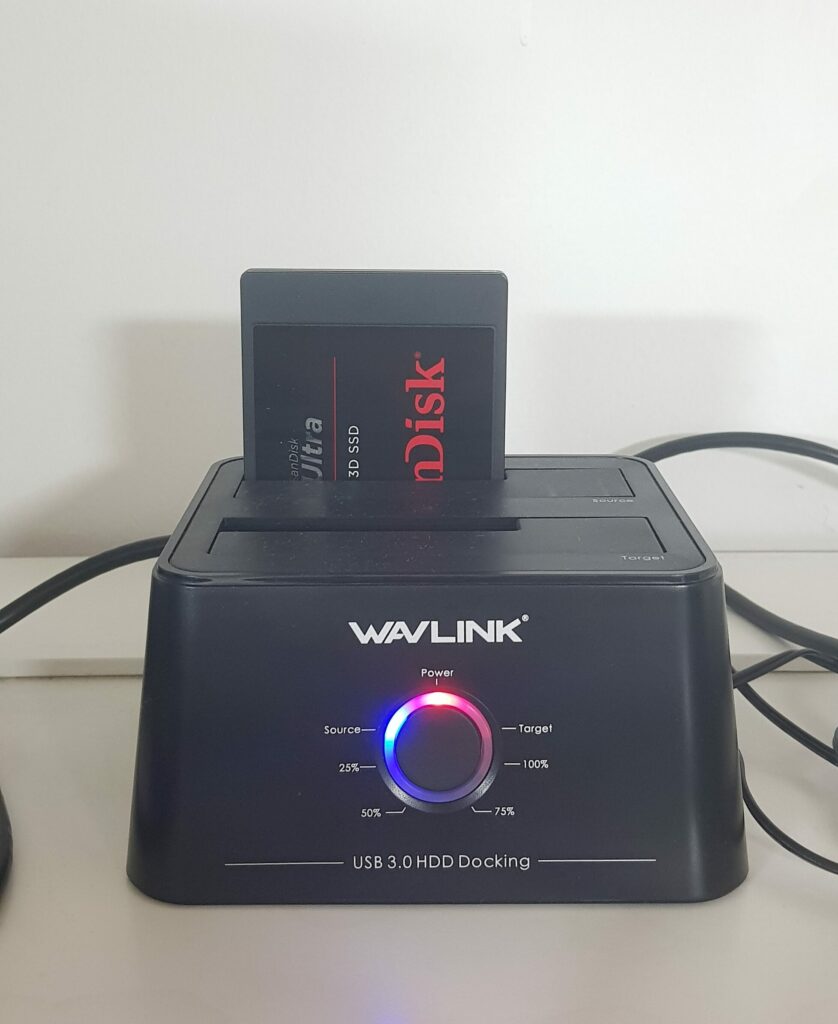
- Storage: 256GB Sandisk SSD / 1TB Seagate HDD
- Router: Asus RT-AC88U
Storage
For the storage, in the beginning, I used a 1TB Seagate HDD as the home for all of my movies and TV Shows. Later down the road, I realized that Plex is a heavy storage usage application that reads and writes to the persistent layer at high frequency. These data can be metadata, caches, and transcoded video data. Due to this behavior, the SD Card that came with the Pi simply couldn’t keep up, overheated and paused randomly middle of a heavy write sometimes. The heaviest disk IO operation is the transcoding of video. As this is temp data and will be removed anyway after you finish watching a movie, I did think of using `tmpfs` (file system but only sit on RAM) for this transcoding folder, however, this is not feasible due to the large size of the transcoded videos and cannot fit in the tiny 1GB memory of the Pi. So, I had to place these folders on external storage. The first thing that came to mind was to use the same HDD that stores movies, which solve the problem. I did have a spare 256GB SSD lying around unused so I swapped it with the HDD for a much better IO performance, but HDD should do the trick you only have HDD at your disposal.
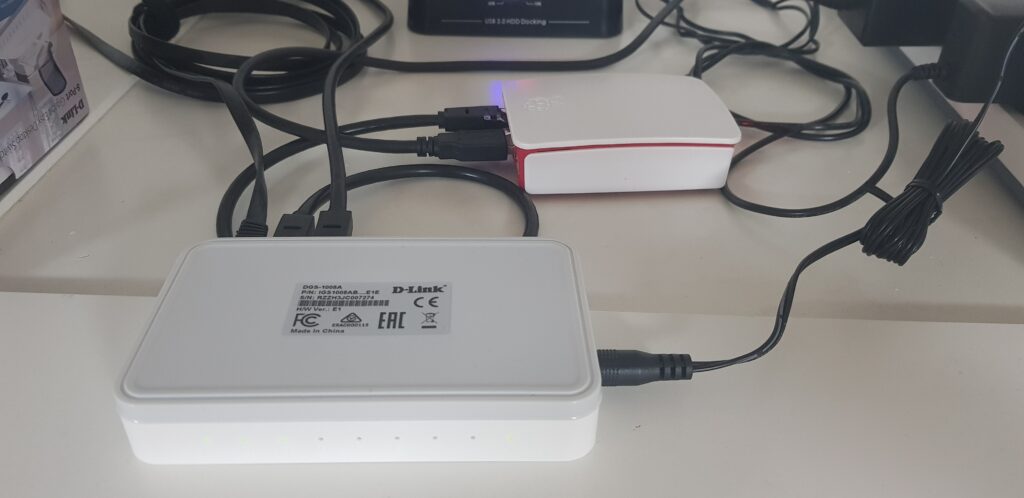
At first, I connected this SSD to my router and then used the built-in NAS function of the router on top of this drive. By doing this I can drop files easily to this storage and the Pi also can connect to this NAS without any problem. However, my router kept hanging when I use the built-in NAS function after a period of usage, I use the Asus AC88U which is a very capable router. I couldn’t really tell what is the issue from its logs so I decided to connect the SSD directly to my Pi and run the NAS from my Pi instead. I used docker to run a samba implementation, one decent image that supports ARM is like below:
docker run -d --name samba --restart unless-stopped \
  -p 137:137/udp \
  -p 138:138/udp \
  -p 139:139 \
  -p 445:445 \
  -p 445:445/udp \
  --hostname 'home_nas' \
  -v [SSD_MOUNT]:/share/media \
  elswork/samba \
  -u "seannguyen:password" \
  -s "backup:/share/backup:rw:seannguyen"
Connectivity
Even though the Pi is capable of using wifi, but video streaming is a very bandwidth demanding task, especially when you stream 4k videos to multiple devices at your home. Plus, you want to drop your source video files from your computer to the SSD fast. Therefore, using an Ethernet connection between the Pi and your router is a must.
Plex Server Installation
You can install Plex server using any approach that you are comfortable with. For me I want the app to be self-contain so I chose docker for this task. Note that the official docker image at plexinc/pms-docker doesn’t support ARM so I use the linuxserver/plex alternative. The starting command roughly look like
docker run  -d  --name=plex \
  --net=host \
  --restart unless-stopped \
  -e PUID=1000 \
  -e PGID=1000 \
  -e TZ=SGT \
  -e VERSION=docker \
  -v [SSD_MOUNT]/plex_media_server:/config \
  -v [SSD_MOUNT]/Movies:/movies \
  -v '[SSD_MOUNT]/TV Shows':/tv_shows \
  linuxserver/plex
Config Plex for transcoding optimization
Technically, at this point, you can start watching your Movies on Plex, but you will soon realize that your Pi will start heating up extremely fast (especially in the tropical climate here, Singapore) and the CPU started being throttling. Worst, 4k videos won’t play at all due to “Your server is not powerful enough to transcode this video”. The reason behind this is Plex priority bandwidth optimization over computational optimization, so by default, it will try to transcode the video on the server-side first to match the expected bandwidth and resolution indicated by the client. Here is how you can prevent this behavior and push the original data to the client-side and the powerful client deal with transcoding instead.
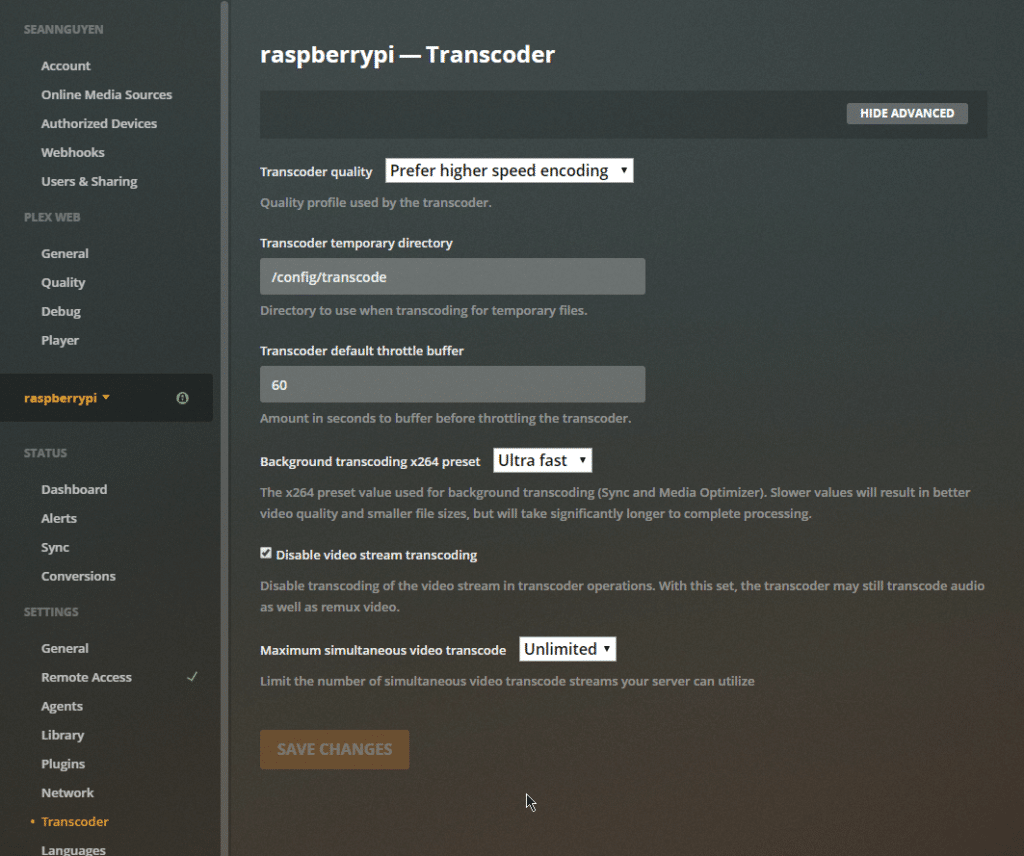
First, you need access Plex app via either the web or desktop client, go to Setting, under your server name (in my case I named it raspberrypi), choose the Transcoder section. Turn on the flag “Disable video stream transcoding”, note that this won’t eliminate the transcoding entirely, the server will still transcode when it absolutely needed, like transcode for a web client. For “Transcoder quality” and “Background transcoding x264 preset” choose the best option for performance, this helps the Pi reduce the load in the edge case that it still needs to transcode.
Second, on each of your clients (web, desktop, mobile), you need to apply the following setting. Go the Setting page, click on the “Quality” section.
- Internet Streaming
- Video quality: Maximum (This will let the server send over the original data)
- Play smaller videos at original quality: Enable
- Home Streaming
- Use recommended settings: Disable
- Video quality: Maximum
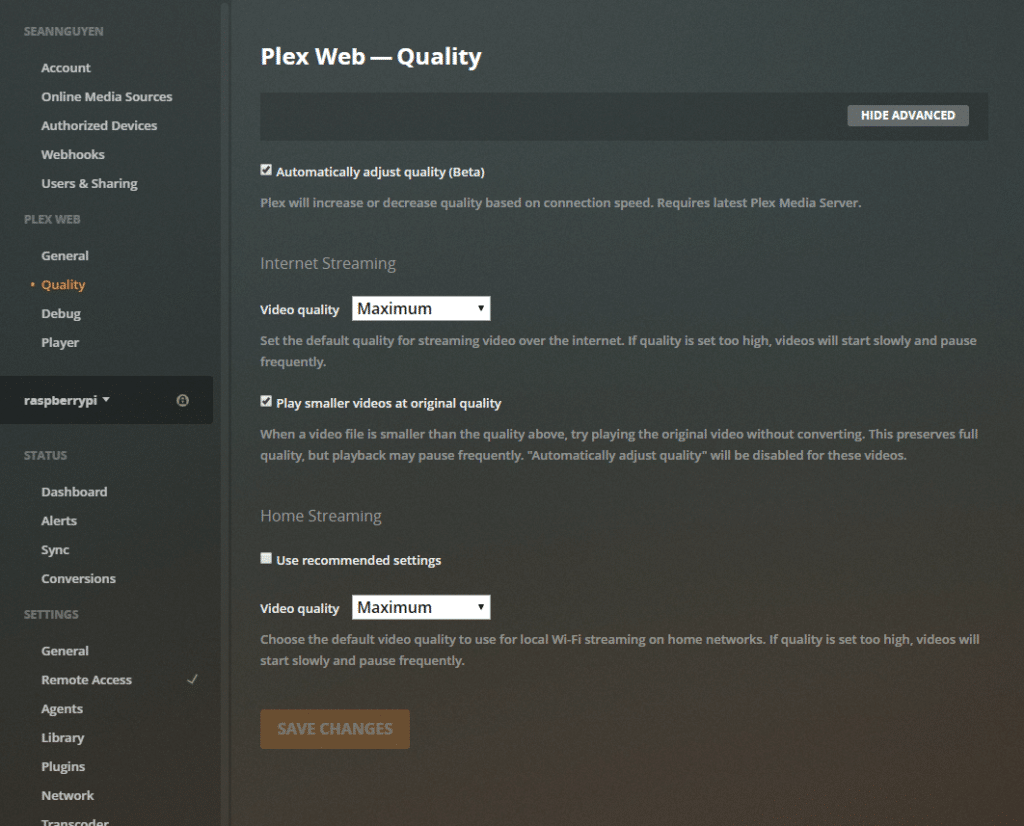
After this, your content should be delivered to client apps without transcoding. Effectively, Raspberry Pi will just to the delivery work which reduces the load on this tiny compute significantly.
Note: due to web technology limitations, media for web clients will still be transcoded. So web clients won’t be able to watch 4k content, so I strongly recommend to use a native client for your platform instead.
Hope this helps you with resolving some of the issues you are having with your setup.
Happy movie crunching!!!